
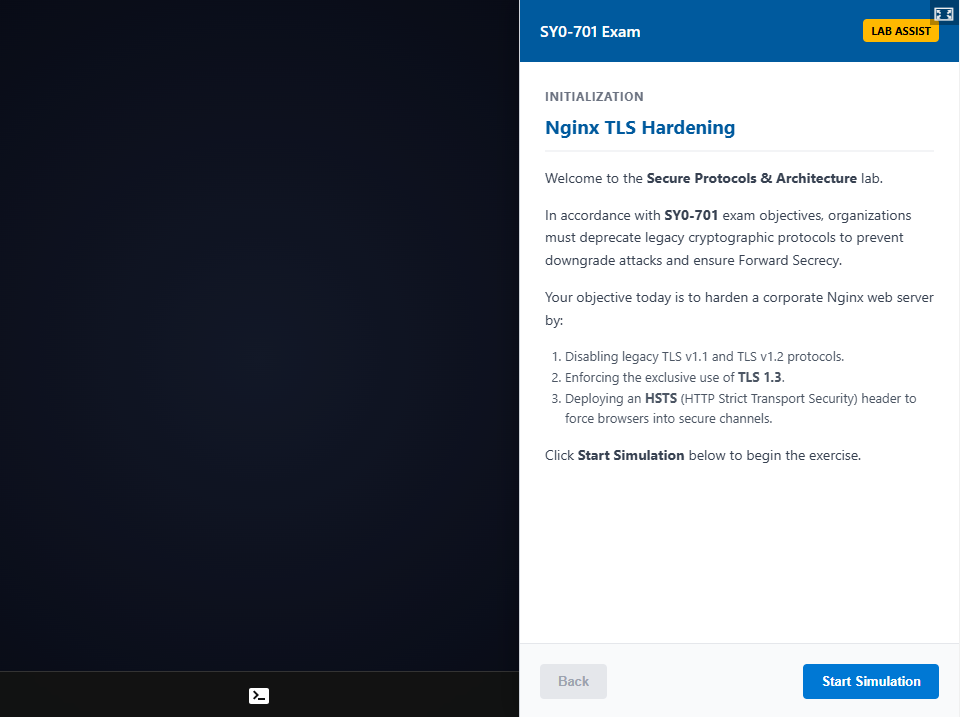
Nginx server hardening secures web infrastructure by deprecating legacy cryptographic protocols and forcing encrypted communication channels. Implementing Transport Layer Security (TLS) 1.3 and HTTP Strict Transport Security (HSTS) prevents downgrade attacks and ensures data confidentiality between clients and servers.
Under the hood, web browsers and servers secure communications through a TLS handshake. While older handshakes required multiple network round-trips, TLS 1.3 simplifies this process into a single round-trip (1-RTT), significantly reducing latency. TLS 1.3 also deprecates outdated cipher suites—the algorithmic formulas that encrypt data—and static RSA key exchanges. Instead, it enforces Perfect Forward Secrecy (PFS), a security property that generates unique session keys for every connection, ensuring that past sessions remain encrypted even if an attacker compromises the server’s master private key.
Without proper hardening, adversaries exploit legacy protocols like TLS 1.1 or TLS 1.2 via Man-in-the-Middle (MitM) positioning. Attackers intercept the connection and trick the client and server into using weak cryptographic parameters, which is known as a protocol downgrade attack. Hardening Nginx by disabling these legacy versions forces the system to reject weak handshakes altogether.
To complement protocol restriction, administrators deploy HSTS (HTTP Strict Transport Security). HSTS is an HTTP response header that instructs web browsers to only interact with the server via secure HTTPS (Hypertext Transfer Protocol Secure) connections. If a user attempts to connect via unencrypted HTTP, the browser transparently upgrades the request internally. This completely neutralizes SSL stripping attacks, where an attacker intercepts an initial unencrypted HTTP request to prevent a secure session from ever establishing.
Practical Lab Guide: Hardening Nginx TLS Configurations
This hands-on walk-through demonstrates how to audit, edit, validate, and apply secure cryptographic baselines on an Ubuntu server hosting Nginx.
Step 1: Audit the Existing Protocol Configuration
Before executing changes, administrators must determine the active cryptographic baseline. Use the grep tool—a command-line utility used to search text patterns—to locate the active protocol definitions within the central configuration file.
grep ssl_protocols /etc/nginx/nginx.conf
This command scans /etc/nginx/nginx.conf and prints the active protocols. The default unhardened configuration often reveals outdated protocols like TLSv1.1 and TLSv1.2 in active use:
ssl_protocols TLSv1.1 TLSv1.2;
Step 2: Modify Nginx Directives via Nano Editor
To enforce modern security baselines, administrators must edit the Nginx configuration file using the nano text editor. Superuser permissions are required via sudo (superuser do) to modify system-level files.
sudo nano /etc/nginx/nginx.conf
Once the text editor interface opens, locate the ssl_protocols directive inside the http block and perform the following modifications:
- Edit the line to restrict negotiation strictly to TLS 1.3:
ssl_protocols TLSv1.3; - Directly below the updated protocol line, add the HSTS header directive to enforce encrypted-only channels:
add_header Strict-Transport-Security "max-age=31536000; includeSubDomains" always;Note: This directive sets the client cache duration to one year (31,536,000 seconds) and applies the safety policy to all subdomains.
Save and exit the editor by pressing Ctrl + X, confirming modifications with Y, and hitting Enter.
Step 3: Validate Nginx Configuration Syntax
Applying untested configurations to a live production web server can crash the active web service if syntax errors or typos exist. Always run the Nginx testing utility to verify file integrity before applying changes.
sudo nginx -t
This utility parses the updated configuration and checks for structural compatibility. Look for the success confirmation output:
nginx: the configuration file /etc/nginx/nginx.conf syntax is ok
nginx: configuration file /etc/nginx/nginx.conf test is successful
Step 4: Restart the Nginx Daemon to Apply Changes
Modifications to configuration files remain dormant until the active web service reads them into system memory. Use the system controller command (systemctl) to restart the Nginx background daemon—the underlying background service process.
sudo systemctl restart nginx
The operating system gracefully restarts the daemon. The web server now rejects connection attempts using TLS 1.2 or lower, strictly negotiates TLS 1.3, and serves the protective HSTS header with every HTTP response.
Leave a Reply